Showing posts with label helping community. Show all posts

Saturday, December 10, 2011

I made my own gift box..hehe

I hope that you read about how to make your own box in my last post. I also hope that they were easy to follow directions so that you could make some of your own. I enjoyed making the "How to" post so much for everyone that I made some more boxes...ten to be exact....LOL!!!  These were made for a purpose. Do you remember the flower garden I have been cultivating here of late? You know the one....don't you? The one that took up a weekend plus. Need a reminder? Just Click Here.   I made the boxes to hold these precious flowers plus I made three more flowers to add to the bunch.

I do hope that the little girls that receive them Christmas morning will love them just as much as I loved growing making them. I just love the fact that so many people are coming together to make Christmas a special time for the families that need the extra help. I'm very excited to be one that is able to use my whimsical talents to help out. Paying it forward is a motto that all of us should take to heart. I know that I certainly do. Let's take a walk and see the newest flowers clipped from the garden.


I love using fabric and ribbon. This little beauty of a rose was made from a wired satin ribbon and has cotton fabric leaves. Not only do I love using fabric and ribbon but I really love buttons. The prettier the better!!! On this one I was able to use two buttons. The white one looked like the center of a flower. How perfect...ri iight??  I just couldn't resist using this little butterfly button to go along with it. It's attached to a large clip barrette.


Here is another rose from the same bush. No thorns either...that makes it nice. We don't want any ouchies from our sweet little ladies.....now do we? I used one of my flower buttons for the center of this one and instead of a hair clip...I attached it to an elastic headband. Can't you just see a sweet baby girl wearing this?
Sit and imagine....now let's all say...........Awwwwww!!!


This little beauty is from the whimsical side of the garden. I had these fantastic, colorful fabric scraps that a friend gave to me in a big bag of.......scraps!! HAHA  They were just the perfect size to make these with. So important tip here.....never throw out those scraps you might think are to small to be keeping. I just adore all the colors in this one too. What do you think of when you see the colors? I think of ice cream..... Neapolitan ice cream and a scoop or two of sherbet thrown in with perhaps some peppermint. YUM!! I suddenly am in the mood for ice cream. ^_^   Hmmmmm...wonder why? Instead of raiding my button stash for these...I raided my vintage bead stash. Tiny, pretty pink pearls. The leaves surrounding the flowers are made from a ribbon. This one has a hair clip attached to it.

Now I have ten beautiful flowers in all to give away but I just couldn't hand them over to Ms Sue and say "Here ya go". I wanted them to be extra special so that's why I made the boxes. The box liked we talked about at the beginning of this post....the box that this post is suppose to be about. Sorry...I just had to wonder in the garden BUT at least I took you with me and you got to smell see the pretty flowers. For the boxes, I used white card stock......because I know that the box probably won't survive the opening process. I mean if they were big boxes...then they would be "priceless" but these are small boxes. I hope they do survive though because they are really cute and could actually be another gift in itself. For the top of the box, I found this cute vintage page from a children's book with rabbits....I love rabbits....don't you? Rabbits looking out the window at Santa and his reindeer flying over the snowy sky. I printed it off in black and white and then water colored it in to give it that vintage look for real. I applied a tiny bit of sparkle flakes to the rabbit tail....some red glitter by some of the holly leaves and even a teeny tiny piece of red glitter on the nose of the first reindeer pulling Santa's sleigh. RUDOLPH!!! Well....either Rudolph or the reindeer had one heck of a party the night before....but....that's....another......whole post entirely!!


Until next time.............HUGS, Regi

Monday, November 21, 2011

Weekend Projects

The weekend officially starts on Friday afternoon...or at least around this old Southern Ooaks it does. I always look forward to the Chazman getting off the bus and as he is dancing walking up the front walk and singing "It's Friday...it's Friday, chachacha", I know the weekend has begun!! Silly goose...I know...but ya gotta luv him. Well, you don't have to but believe me...if you met him you would. Anyways, this Friday I was given a surprise by my sweet Li'l man. This AWESOME chalk painting!!! I do believe the artistic genes have been passed down. Isn't it awesome? He calls it day into night. I have it hanging right over my art desk. What better item to look at and have my muse sing a complete symphony.

As I stated in my last post, I worked on several designs and projects at once on Friday and continued with them throughout the weekend. You know that I'm making things for the Angel program and this weekend it was spent making for the little girls. I hope that they will like some of these. I mean..who doesn't like to smell fresh flowers. Of course these you can't smell but you can wear them. Some are clipped to barrettes...some to pins and some to hair clips. The hair clip ones you can slide the clip off and slide them onto a headband or even a ribbon and wear as a necklace. So let's take a walk through the garden.


Ohhhh, I almost forgot. I was working on some more painted shells on Friday. Another mermaid (a good friend was given the first mermaid one) a snowman and a penguin (look close at this one....you will see where the snowballs come from for the penguin's snow cones..hehe) and one that the Chazman requested (one with a snow scene and Ms Peaches, our cat) I think these will look pretty attached to a wreath. If anyone is interest in them, please feel free to email me or leave a comment here. I have several more that are just sitting here, staring at me, waiting for me to paint.


I have been thinking about painting some of the bigger ones that I have. I have to find a really strong glue that will hold against a shell so I can make a pretty hanger for them. Any suggestions on what type of glue? All suggestions will be greatly appreciated. Thank you in advance...I know I will get one or two...ri iight??

I also spent some of this weekend working on a medallion mold. I had designed one with a mermaid that will have natural shells attached. I finally after working the clay and "SQUISHING" the clay (several times mind you) got one that I liked. It's hard making molds.....everything is inside out. Did ya know that? Or perhaps I just make it harder than I should. But HEY...it worked out for me. Yea!! Here is the first baked piece using the mold.

So...that was my busy weekend. What creative thing did you do this weekend? I'm off now to start on some wrist cuffs and hemp bracelets...can't forget the fella's in the program. Hope you have a wonderful Monday.

Until next time..........Hugs, Regi

Friday, December 3, 2010

Angel gifts are complete!!!

Now that I have rummaged through all my jewelry supplies..I have finally finished with my Angel gifts. One of the items that the group had requested for people to donate was for books. Books are wonderful and make an excellent gift for any age. I wrote a saying some time back  "What makes a Book Great? A grouping of words...that allow our minds to travel" Reading for some of us is how we get to experience far away places..mystical places and places that only the written word can take us. However, what does every person need that is reading a book? They need something to mark their page when they need to put the book down for a bit. (unless you are like me and run into doorways because you just can't put it down) Yes...yes...you can turn the corner of the page down....or stick a piece of scrap paper in it. Books, especially good ones, deserve more respect than that...they deserve a bookmark that is worthy to be placed inside the pages to bring you back to where ever your journey was taking you. So far the last of my gifts....I made some whimsical bookmarks.


I think that the book reader that gets one will be very happy and so will I, especially knowing that (fingers crossed) there will be no more pages bent down at the corners. I use to make these and forgot just how much fun it is to twist and curl the wire. I do believe that once I can rebuild my supplies then I'm going to make some more. Heck...I might even make one for myself ^_^ Would you like to make one? Very easy peasy..honest!! I think just giving you some tips and hints here is all you will need. If you do have any questions feel free to leave a comment or email me.

*WIRE* (of course ^_^..any size or type that you like to work with..just keep in mind you want something that will hold it's shape. I used 18 gauge. Using recycled copper wire makes a great bookmark..you will need to hammer it flat once you get your design complete due that most copper is fairly thick but this gives it a really nice look. Cutting a 12-18 length works for me...keep in mind if you want the bookmark hanging out the top and bottom or just the top. I cut a 12 inch length piece.

*Needle nose Pliers* (if you don't want any tool marks on the wire then take some masking tape and wrap it around the ends of the pliers. To make your spirals all you do is wrap your wire around the end of the pliers...as many wraps as can fit...then remove from pliers and then simply flatten them and reshape if needed. To make the zigzags I simply took the wire and laid it in the pliers and bent it over without looping. Make sure you put a small loop at the bottom of your bookmark..wire can stick!! If you are making one that will hang out the bottom of the book you can add a bead to the end or perhaps a tassel)

*Beads, Jump rings and Head Pins* (again..this is what ever you want to use. For some of my bookmarks I used loose beads..just make sure they will slide over your wire...and keep in mind that you want to slide them before you make a twist or zigzag *hard to slide a bead over a zigzag ya know*. I also used the head pins to make some cascading beaded findings and then put them on jump rings and attached to the wire)

Now go make some bookmarks. They make great gifts...stocking stuffers....even a cool gift tag to go on top of that wrapped book you got for someone. Think they will figure out what the actually gift is. ^_^ I would love to see yours if you make some...come back and share.


Until next time.....Hugs, Regi

Something Simple from the heart

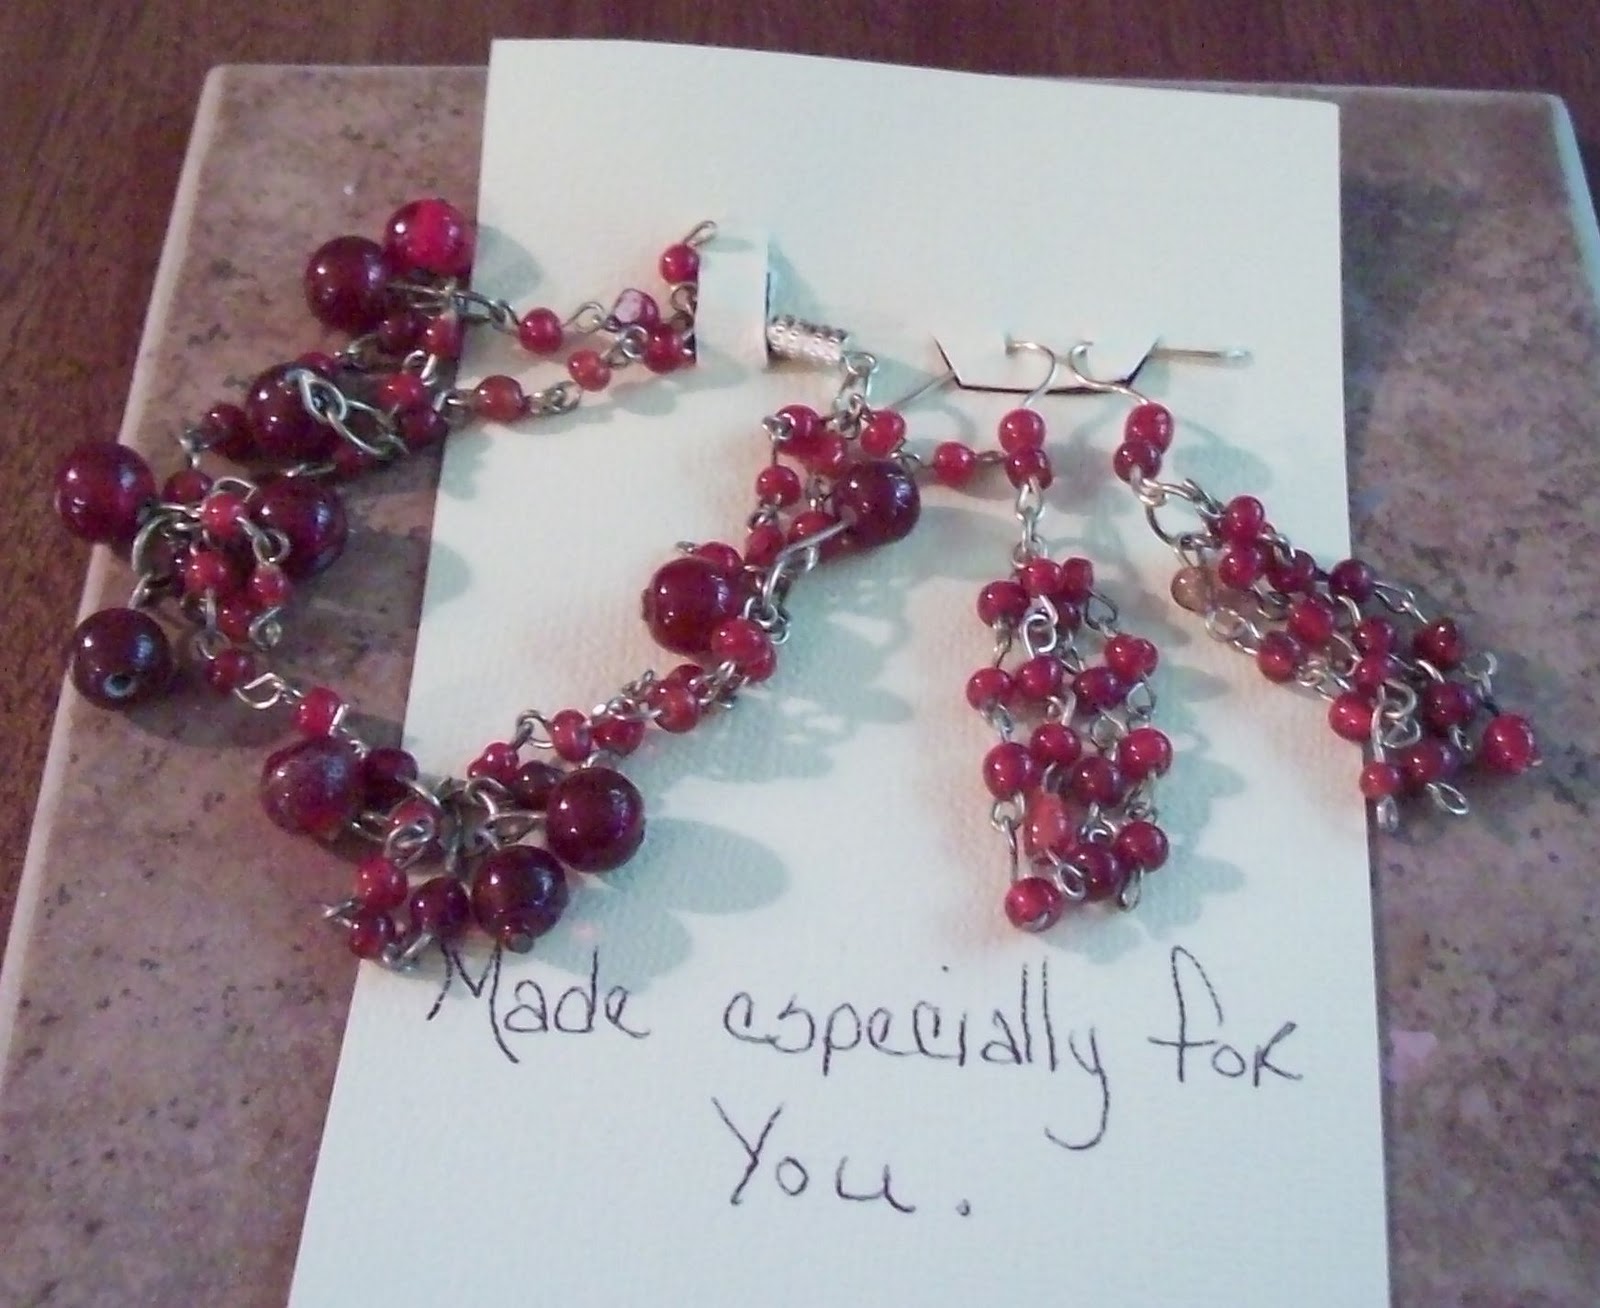
Those that have been reading my posts already know about the gifts I have been working on to donate to the Angel program here in Baldwin County. You know....it doesn't take much to put a smile on someone's face and I'm hoping that these help do just that.....plus more. I hope the ones receiving them will get a smile placed on their hearts because they will know that someone really cares. I'm hoping to get a few more things made before they are picked up tomorrow but here is what I have so far....


This time of year is a time of "giving" and I'm so blessed that I have a talent that I can use to hopefully bring a big smile!!!!


Until next time......HUGS, Regi

Wednesday, December 1, 2010

Old Belt to New Wrist Cuff

I spent Monday morning cleaning up the Chazman's room and the rest of the house so that I could put up our Christmas decorations. I had to rearrange some things so that I could put the tree in the family room corner and put my sofa table my Dad made in the dining room for my Christmas village to sit on. You should have seen all the dust bunnies making a run for it when I moved other furniture to accomplish this. "Shaking Head"...I'm so ashamed.   Once I got things moved around and all the decorations up, I sat down to admire all my hard work and suddenly realized that I had to clean house AGAIN. Some days I come to the understanding of why some folks call me ditzy....this was soooo one of them.

In opening some of my boxes that the decorations were in I discovered one of my old belts. And before you ask....I have no clue as to why one of my old belts was in a Christmas decorations box. (another one of those ditzy days I imagine) I think my muse put it there....for as soon as I saw it the light bulb went off. I have been making jewelry for the Angel program. (Click here to read about this amazing program) and immediately I saw some really cool leather bracelet cuffs. Something unique to give a teenage boy or girl. Since I was going to be making some I thought perhaps that I would do a small tut on how to make your own.

Of course you start with an old belt. Mine was in good shape which really makes me wonder why it was in that box. You can use an old belt too....worn leather has a really great look to it. Here are a few other supplies you are going to need.
An old belt...of course
Pair of scissors
Thin Leather cording
Medallion or bead
Cuff Link
Hole punch (nail and hammer if you don't have punch)
needle or something sharp to mark leather

First thing you are going to do is take the belt starting at the end where the holes already are. (Measure this out to about 9 inches and put aside....to make another bracelet later) Now take belt and measure off the length you want your cuff to be...keep in mind that the cuff needs to overlap on the ends. Everyone might need a different size but for reference here I measured mine out to 9 1/2 inches. Take scissors and cut the length. I like to round my corners. Next take one end and mark about 1/2 inch in. This is where the cuff link will go. Take your hole/leather punch or nail and hammer and make your hole.
Next, wrap the cuff around and mark where the hole will go on the other end. You can measure the same as before but I like to mark the hole so I know it will be in exactly the same spot. Get that nail and hammer and make that hole.
Now simply take the cuff link (ones that are smooth work best...you don't want one that has a raised surface)  and push it through one of the holes with the cuff link face on the inside of the cuff bracelet. You just created the way to lock the bracelet on your wrist. You take the other end and push it onto the link sticking up and then simple push the catch down. Wasn't that simple!!! Now open your cuff back up and lay it flat.
Take the medallion or button or bead that you chose for your cuff. Lay it on the back (inside) of the cuff in the middle. Place your marks...you will need four. Two on the inside of the medallion and two on the outside. Punch holes where you have marked.
Next, take the thin leather cording and cut a piece about 12 inches long. You are a better judge since you may be using something bigger or smaller than my medallion. Clip one end at an angle, this makes it much easier to push through the hole.(I clip after each hole so my cording doesn't fray) Bring it through on the inside first..leaving a long tail in the back...coming up in the front of the cuff...lay your medallion down and then pull the cording through the next hole on the inside of the medallion and coming out in the back. Then do the other hole and then ending through the last hole with your cording having another tail at the inside of the leather cuff. Take the cording and tie it securely.
Tahhhh Dahhhh....you just made a leather bracelet cuff. I think that any teenager or male for that matter would love getting one as a gift....don't you? I hope that this tut will help you make some to give as gifts or simply to make some for yourself. Let your muse or as some would say, your imagination guide you.

Here is what I did with that first piece we cut. Follow the same directions to attach the cuff link. Since I already had holes in this piece I simply took one of my bone beads, took some cording, looped it on one end and ran it up through the bead hole...pull loop end through the middle hole on the cuff and make sure it will fit snug over the bead....then knot the cording on top of the bead.
Here is another idea too. This belt had such a cool buckle that I thought it would make an awesome cuff all by itself. Simply punch a few holes to make it look like a tiny belt.

Until next time.....Hugs, Regi

Monday, November 29, 2010

Have you heard of the Angel Program?

Times have been so hard for so many in the past 6 months to a year that live here on the coast. We are very thankful to live in such a loving and caring community. I didn't know just how caring until I discovered an online site called Freecycle. Have you ever heard of it? If you have then you know just how wonderful it is and how it works. If you were like me and have never heard of it then you should go and have a looksie. It is a site that lets you "offer" things to others that you no longer need plus you can ask for a "want" for something that you are in need of. Everything is free because the saying is true "One man's junk is another man's treasure". The best thing is that when you join (yes, that's free too) you are signing up in your area....not one that is far away.Of course, I signed up for it (HEY..I'm not a complete dingaling...ummm  I heard that...LOL) and discovered that they offer a Christmas program. I have never, ever had to sign up for any help....always hated to because I knew there had to be others out there worse off. I did however sign up this year..or Christmas morning was going to be mighty small for my Chazman and I am and have been making sure that all of our hard times haven't affected him as greatly.  He was accepted and I'm so happy and thankful and just overjoyed. See what I meant about such a caring community. I started reading more and more about Freecycle. I discovered how they are able to help so many children (infants up to 18 yrs) with Christmas. They have a program called the "Angel program". People donate new or gently used items that are put together for the kiddos. I was so happy that Chaz was in the receiving end that I had to do something to be in the giving end as well. I couldn't go buy anything (if I could then I wouldn't have had to ask for help) but I sure can make a few things. I have been working on some jewelry items....mostly for boys...they said that was one area they were having the least donations. I'm hoping to get a few more things done and even a few hair accessories for girls with supplies I have on hand. Here is what I made over the holiday.
Nothing to fancy but I do hope whomever gets them will like them. I did some of these for my teenage nephews last year and they liked them. YEAH...at least I had some of the same aged ones give me the confidence to do them as gifts to others. I'm still working on a few more. It's not much I know but it will be a gift at a special time made from the heart. Giving feels soooo good!!!

Until next time.....Hugs, Regi

Friday, November 12, 2010

Trim-A-Tree Event

Last week I posted this happy Santa face on Wordless Wednesday. Today I'm here to tell you just what this Santa has to say....

First, let me tell you about the organization that is sponsoring this amazing event. In 1966 twelve people got together and decided that Foley and Baldwin county needed to be introduced to culture in the form of the arts. The first cultural event was a live symphony performance. That was just the beginning and the PAA has been going strong ever since. Performances, exhibits and festivals that occur here in Foley and surrounding areas in Baldwin County are due to all the hard work and planning of the PAA. Our schools benefit greatly from programs that they offer, such as the Artists in school programs, theatre, dance, poetry and even mime. There is even a Scholarship and Merit Awards program that the PAA sponsor. 

Foley is blessed to have others that help support the PAA and that enables them to continue to strengthen our cultural enviroment. Support from local businesses and the city itself. Local artist help by becoming guild members and placing their works at the art center. The PAA can then use their proceeds of those consignment sells to help aide in their wonderful events and programs.

Now that you know a bit of the history and that there are many events and programs sponsored by the PAA let me tell you about the one Santa is talking about. It's the annual Trim-A-Tree Christmas Event. It always starts the second Friday in November and runs through til the 22nd of December. The doors of the gallery open up at 10 a.m. and close at 4 p.m. Monday through Saturday. There really are some amazing artist works to be found, that range from paintings (oils, acrylics and even crayons...yes I said crayons....amazing) there are baskets, gourds (painted and natural) coastal art (shells, sand and drift woods) Christmas ornaments adorn some beautiful Christmas trees (look closely for there are so many to choose from) knitted and crocheted scarves and items, purses, signs, birdhouses, jewelry and of course those whimsical ooaks (one of a kind sculpts) from Southern Ooaks. There is surely something for every person on your Christmas shopping list to be found at the Foley PAA gallery.

If you are planning a winter get-a-way to Gulf Shores, Orange Beach or even Pensacola make sure you come through our little town of Foley and visit the gallery and some of the other local shoppes around it. I promise, the trip will be well worth it.

Just to entice you a bit...here are some of the artist's works that can be found during this amazing event. Please respect the artist works shown here and do not copy in any form. These photos belong to the PAA and their artist. I am posting with the permission of the gallery director. Now scroll down and enjoy and plan that little trip to see us.


Until next time........Hugs,
Regi

Monday, November 1, 2010

Great Halloween Weekend....

Halloween has come and gone but oh what a treat it was. Our fun started on Thursday with the Uptown Foley Fall Market and Halloween street trick or treat. For the Halloween trick or treat our town shut down two streets and the shop owners pulled out the tables and games and the kiddos had a real spooktacular time. The Chazman had a totally fun time and man oh man did my lil phathom get the looks. I can't imagine why....can you???

One of the tables set up at the Halloween street party was filled with pumpkins. Carved pumpkins...painted pumpkins and just plain ole cute pumpkins. Anything a pumpkin could be...it was on this table. It seems that some of the folks from the South Baldwin Medical Center held a contest and the winners of that contest were brought to the street party for everyone to judge. I wish I had taken a picture of all of them but after the one we thought should win...well..I saw no need. HA!!! I know...I'm bad and not being fair but wait til you see it.
Not only was it a spectacular pumpkin carving but it tells that story of just where pumpkin pies come from. Are you ready? Do you want to see?   WARNING: This is NOT for the squeamish!!!  Here is is.......
Is this not the most hysterical pumpkin you have ever seen? Look closely up under the potty chair. Yes..yes..the perfect pumpkin pie. Now....I bet you never look at pumpkin pie at Thanksgiving the same way again...EVER!!!!

How was your Halloween? I hope it was a blast. Hope you have candy to last for several months and I hope that no one climbed to many walls from trying to eat all that candy in one sitting!!!

Until Next time........HUGS,

Regi

Tuesday, June 29, 2010

Hearts and Hands.

We moved to a coastal town to start a new adventure even knowing what an impact that the oil spill was having in the area. Times are hard for most here and I know that they are going to get worse before they get better. I will not leave, now that we are here, because just in the short time living here I have discovered that this is a community that loves....loves what the ocean gives to them and loves all the people that feel the same. We are very fortunate to have some very strong individuals that call our coastal community their homes too. One of those is Lucy Buffett.  She had a chat with one of the CBS news reporters and she spoke of what I feel in my heart as well. She made the comment that "the ocean, she will heal herself in time" and she will. She also talked about the fact that it is going to take each of us helping one another to make it through all of this. I have no doubt in the people that I have met so far that we will survive this...together. Having my muse whispering while I was sitting and thinking about what Lucy said made me want to doodle.


I'm going to take this doodle and try to do some tshirts with it......post them for sale...donate a portion of any sale and start a fund to help in some way down here.. It's my community and I'm proud of it. A small way I know but I hope that I can count on some of my good friends to help by purchasing one.  Hearts and hands.....helping one another!! I will post and let you know when I get the tshirts up for sale. If you are interested please leave me a comment or send me an email. Thank you and until next time...........

Hugs,
Regi